
Social Marketing


Social Marketing
Documents
In this chapter, let's examine the Odoo17 Social Marketing module.
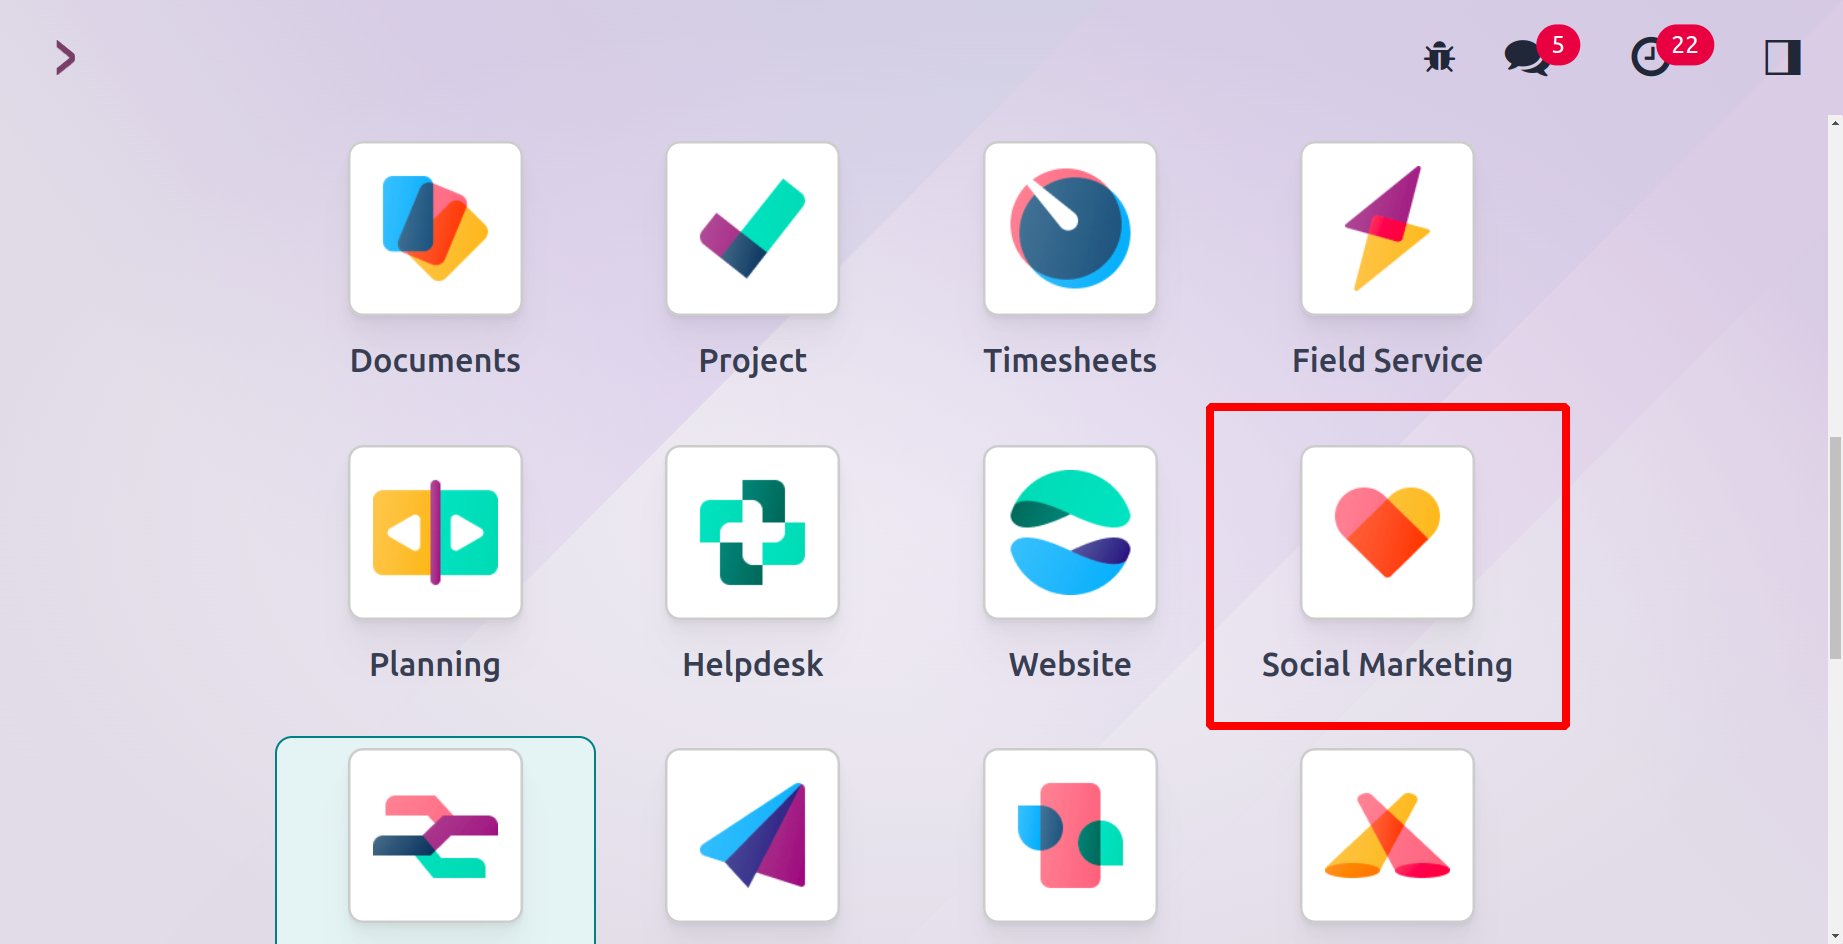
The Odoo17 Application module contains a Social Marketing module that you may add into your database. Select the Social Marketing module from the Odoo17 main dashboard once the installation is complete. You will arrive on the Feed page of your linked accounts when you launch this module. All newly added streams in this module are displayed on this page. The Feed will keep tabs on any fresh content you post to your accounts, and from this page, you may link to your social network accounts directly.
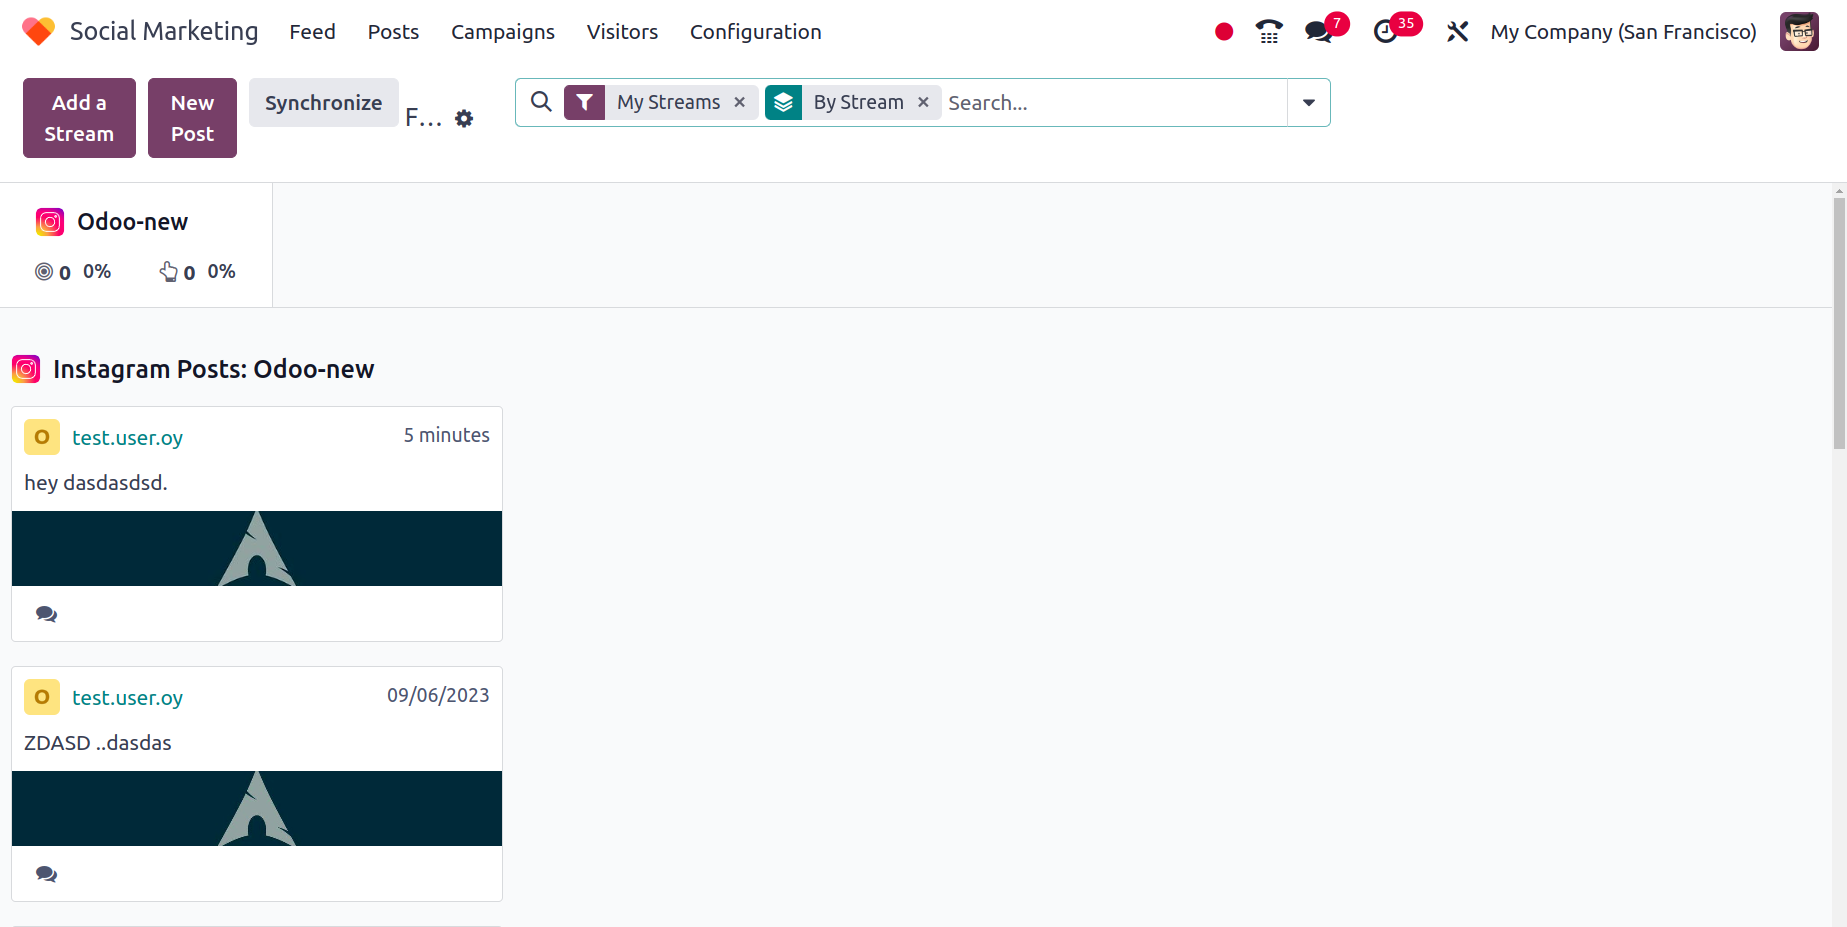
You have the choice to Like or Reply to each remark here.
Adding more streams to this module is simple. To add a new stream, click the Add a Stream button.
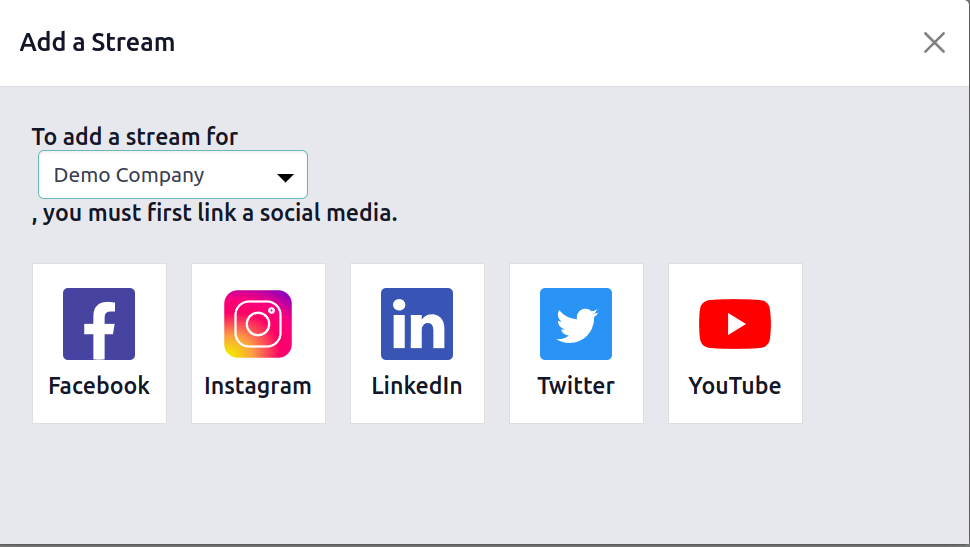
From this pop-up box, you can link a new account or add a stream from an existing account. The feed will show posts from the linked account after choosing and adding the necessary social media accounts. You can set up your social media profiles in the Social Marketing module using the Add a Stream button's assistance. On the Feed of your Social Marketing module, you can manage all of your posts and keep an eye on social activity across various social accounts. You can synchronize the accounts in this module with the help of the Synchronize button.
We will now go into depth about how to write new posts for connected social media accounts.
Posts
Using the New Post button, you can make fresh posts directly from the Feed.
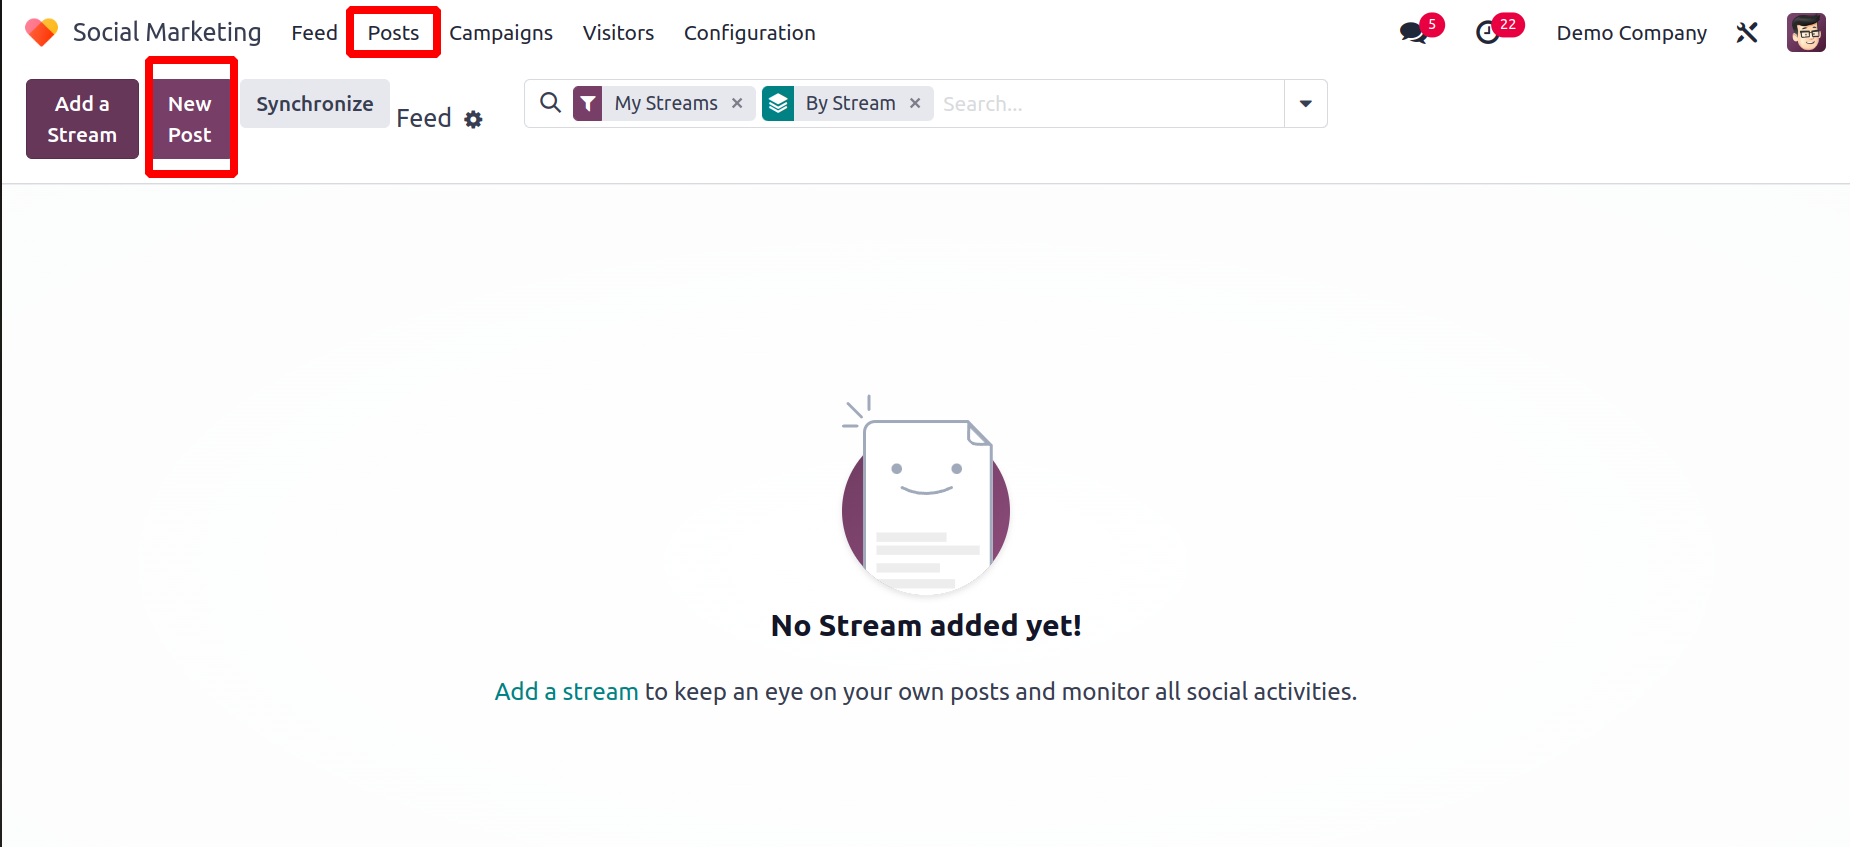
Otherwise, we have a different platform in the Odoo17 Social Marketing module called Posts. All newly made posts for the accounts linked in the Social Marketing module will be displayed on this platform. You can post updates about events, the introduction of new items, and other marketing-related information about your company.
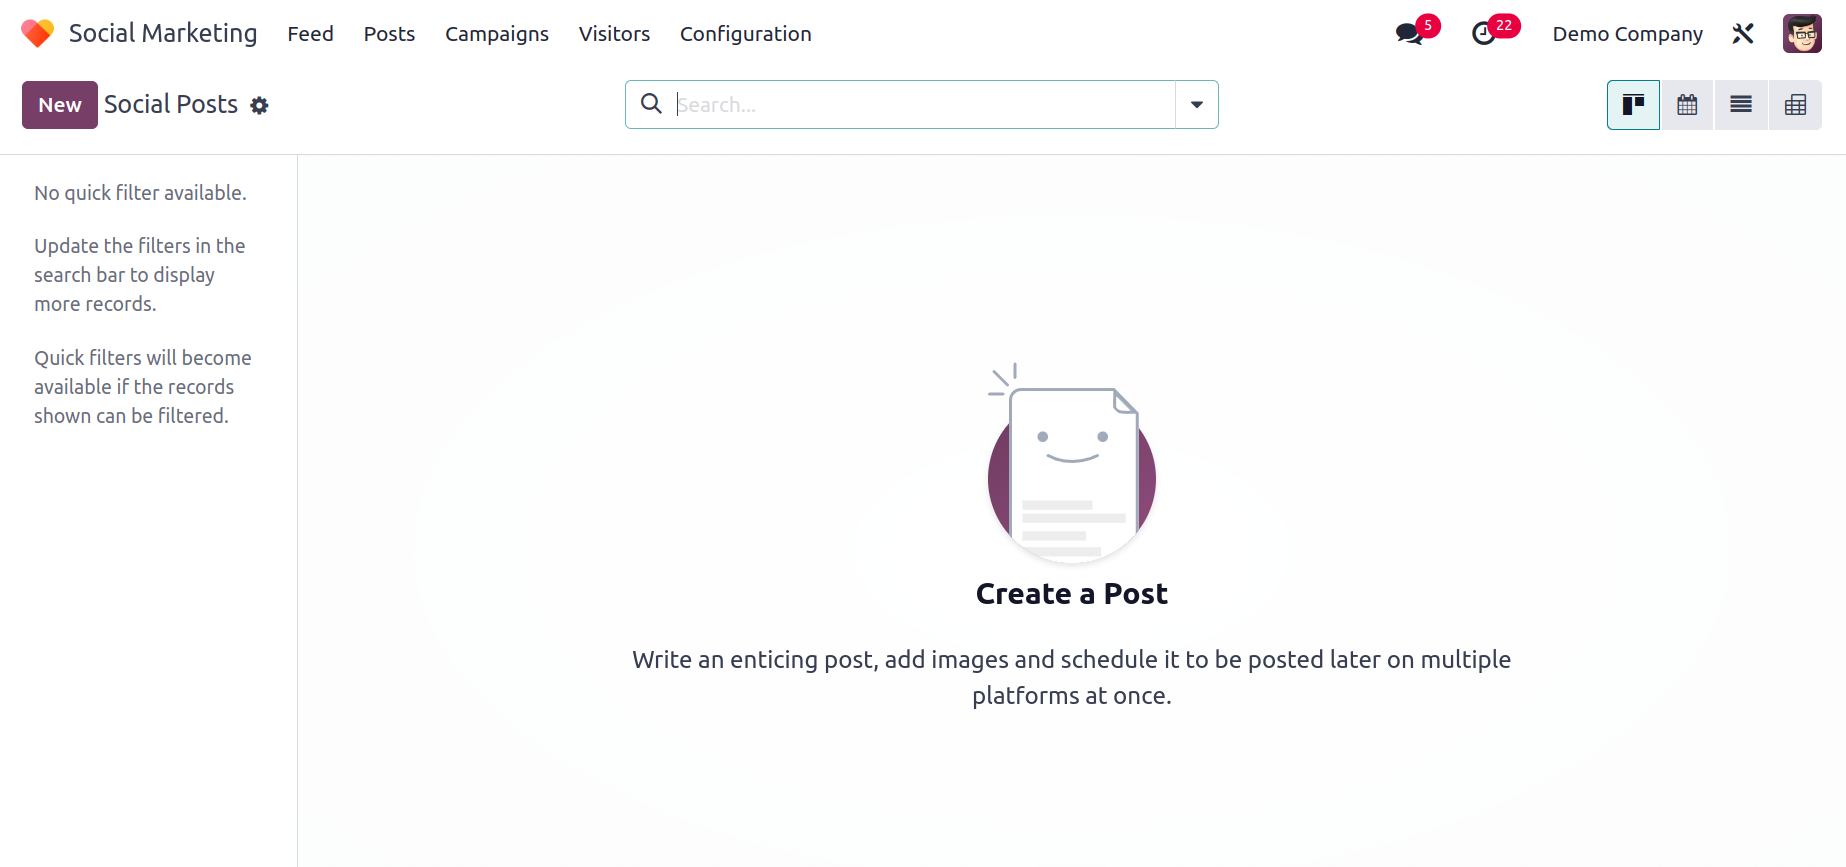
Each post will appear in a different tab in the platform's Kanban view. Each post will display the status of the post together with the icons of the accounts on which it was published. You will learn how many Clicks, Opportunities, Quotations, and Dollar Amounts were generated by each post. The tab will also show the publication date and time. You will find a filtering panel on the left side of the window that you can use to sort the postings by their status and social media accounts. This platform's view can be changed into a Calendar, List, or Pivot view depending on your needs.
To start a new post, click the New button now.
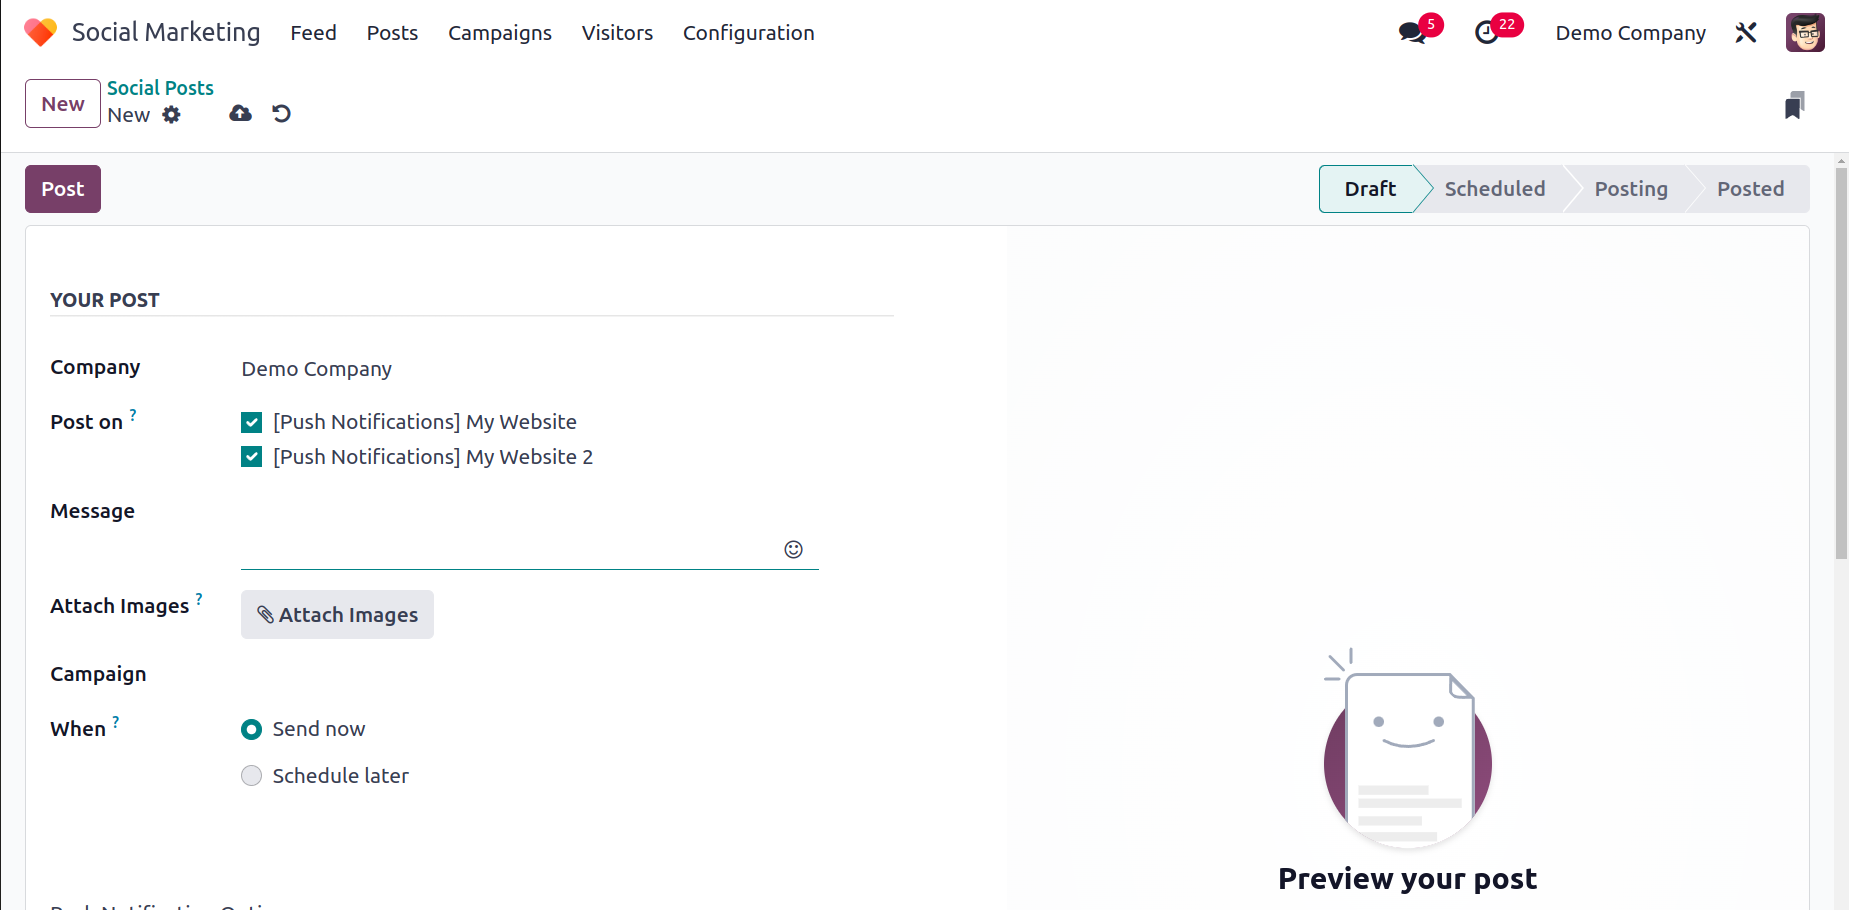
The name of your company may be mentioned in the required field. You can choose the accounts on which this post will be published in the "Post On" area. The Message area is where you can include the message that you want to add to the post. Using the Attach Images option, you can add images to the post. In the appropriate field, you can include the campaign, if the post is a part of any kind of campaign. By using the Send Now option in the When field after composing the post, you can publish it right away. You can choose an appropriate time and date to publish the post with the help of the Schedule Later option.
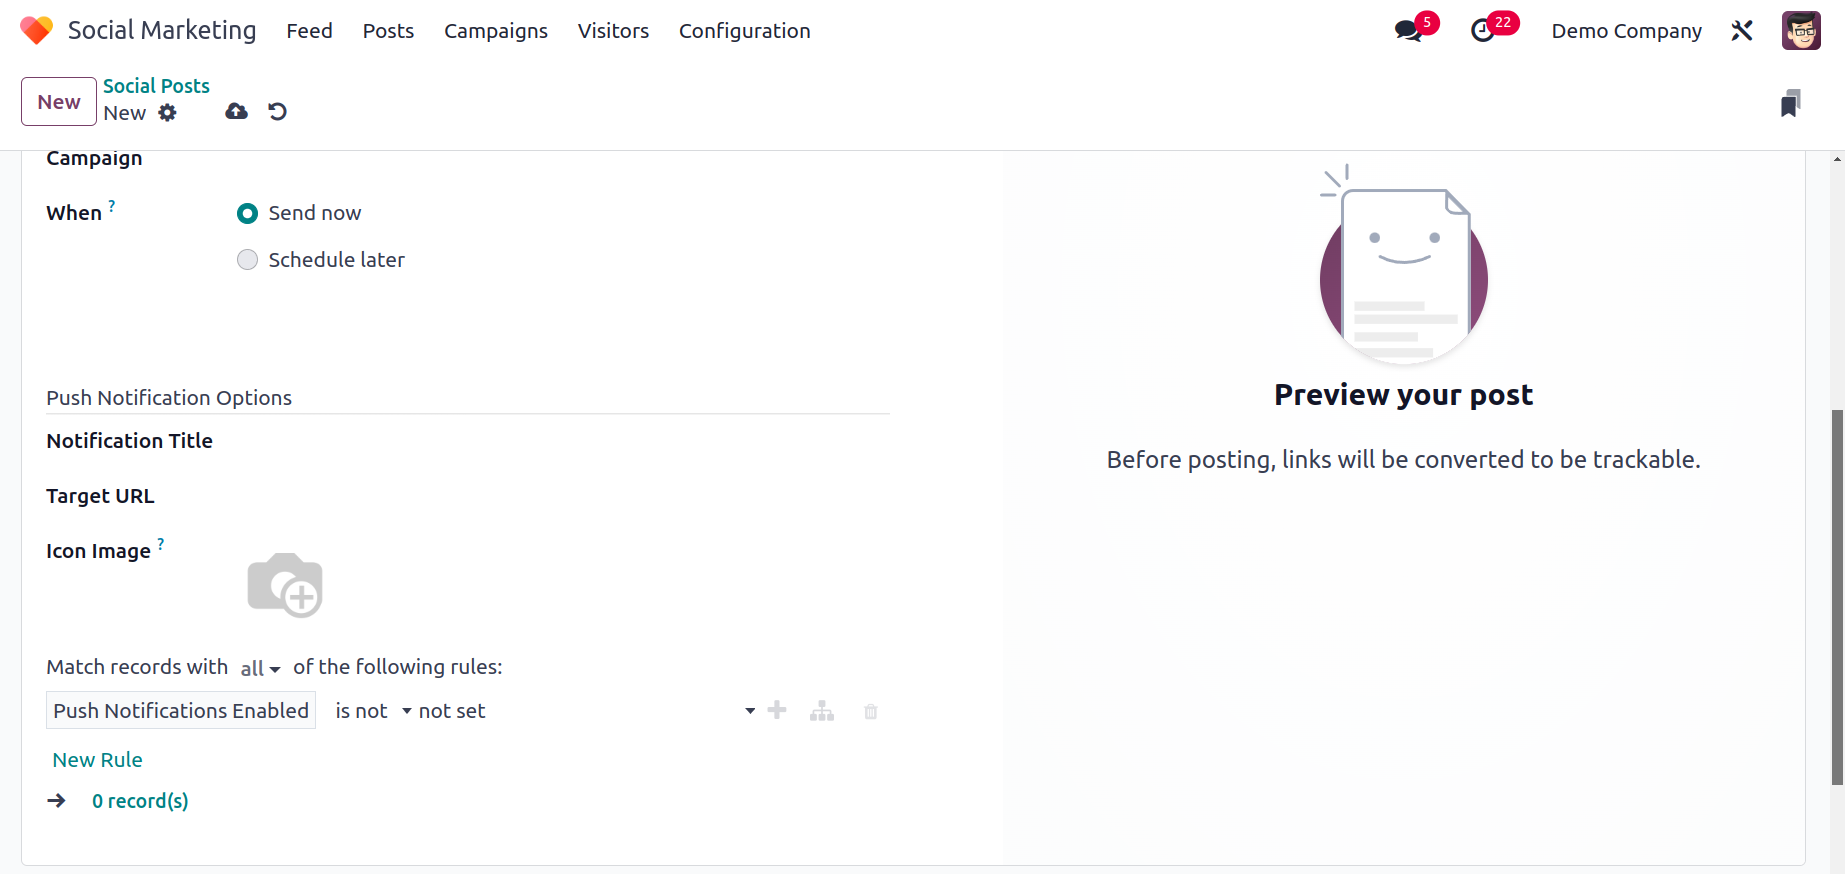
The Push Notifications Options are one of the options when choosing accounts to publish the message. When you post something on your accounts, Push Notification will assist you to notify, your consumers. Customers must consent to push notifications from your account, in order to receive notifications on their devices. You can notify them of new goods, events, articles, announcements, updates, and many other things whenever you post them on your social network if they have enabled this option.
You will be given some extra options to declare in the post creation box after choosing the Push Notification option from the 'Post On' column. In the corresponding areas, you can enter the Notification Title, Target URL, and Icon Image that will appear in the browser notification. The customer will receive a notification on their local time if they enable the local time. If you upload anything, for instance, at 15:00 your time, all visitors will see it at 15:00 their time. You can configure the domain to notify users who enter information in the designated field. After entering all the information, you can click the Save button.
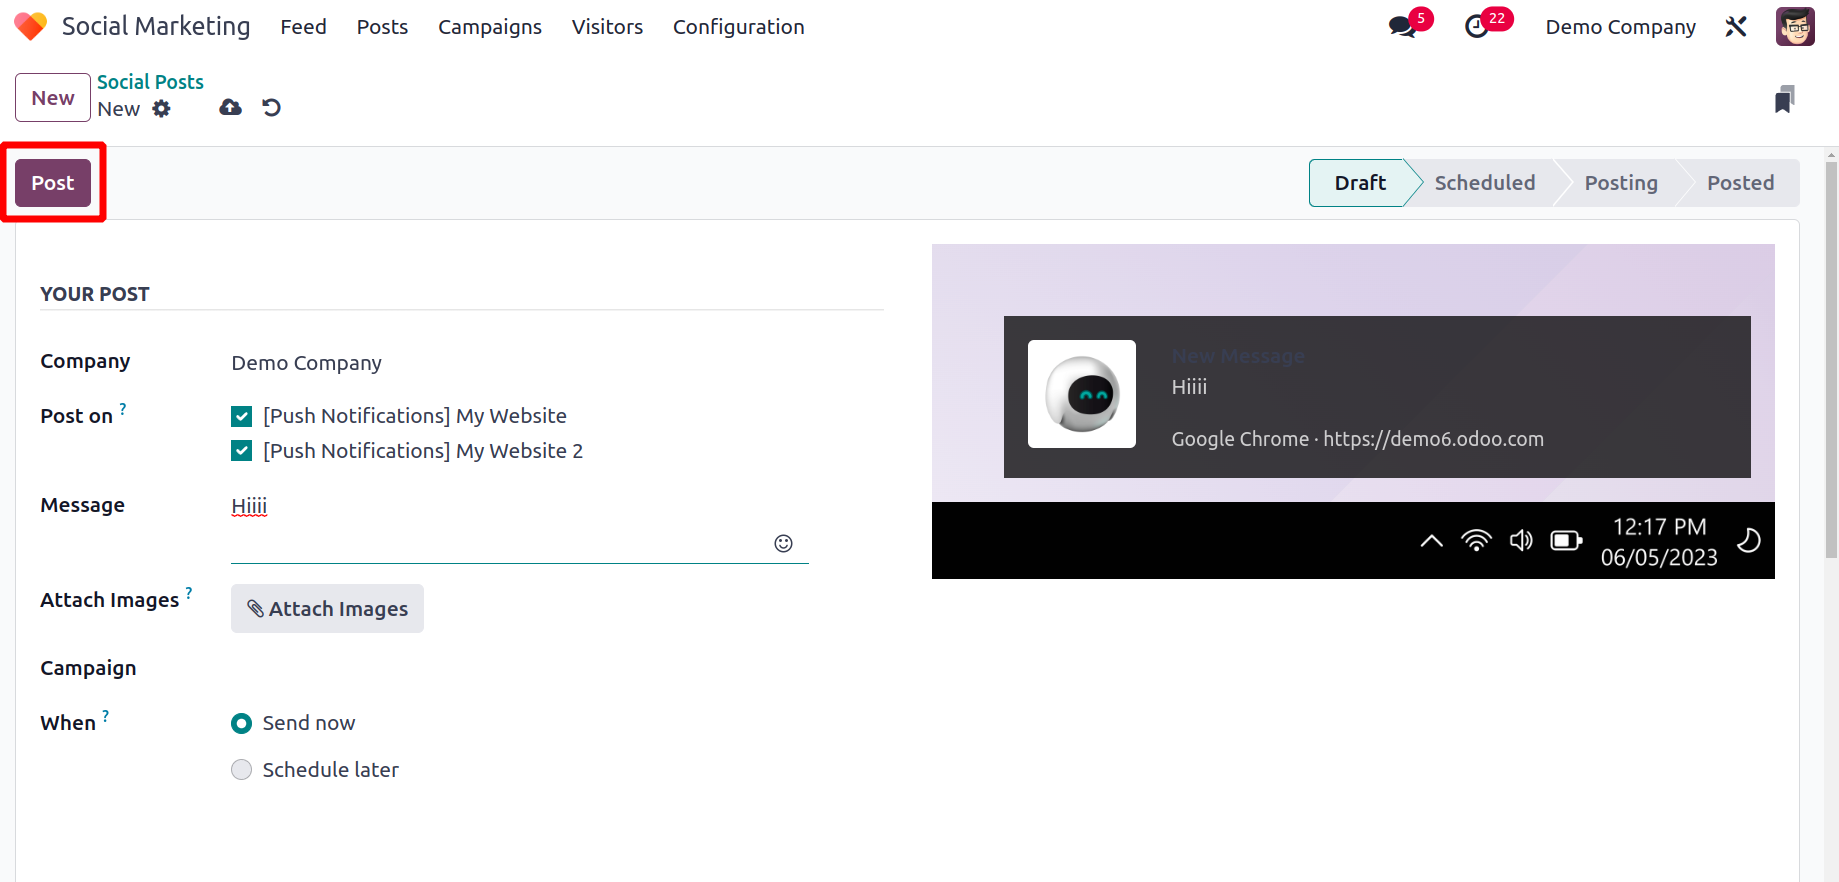
You will see a window with the post preview indicated in the above screenshot. When you click the Post button, the content will be posted to the social media accounts you've chosen.
Campaigns
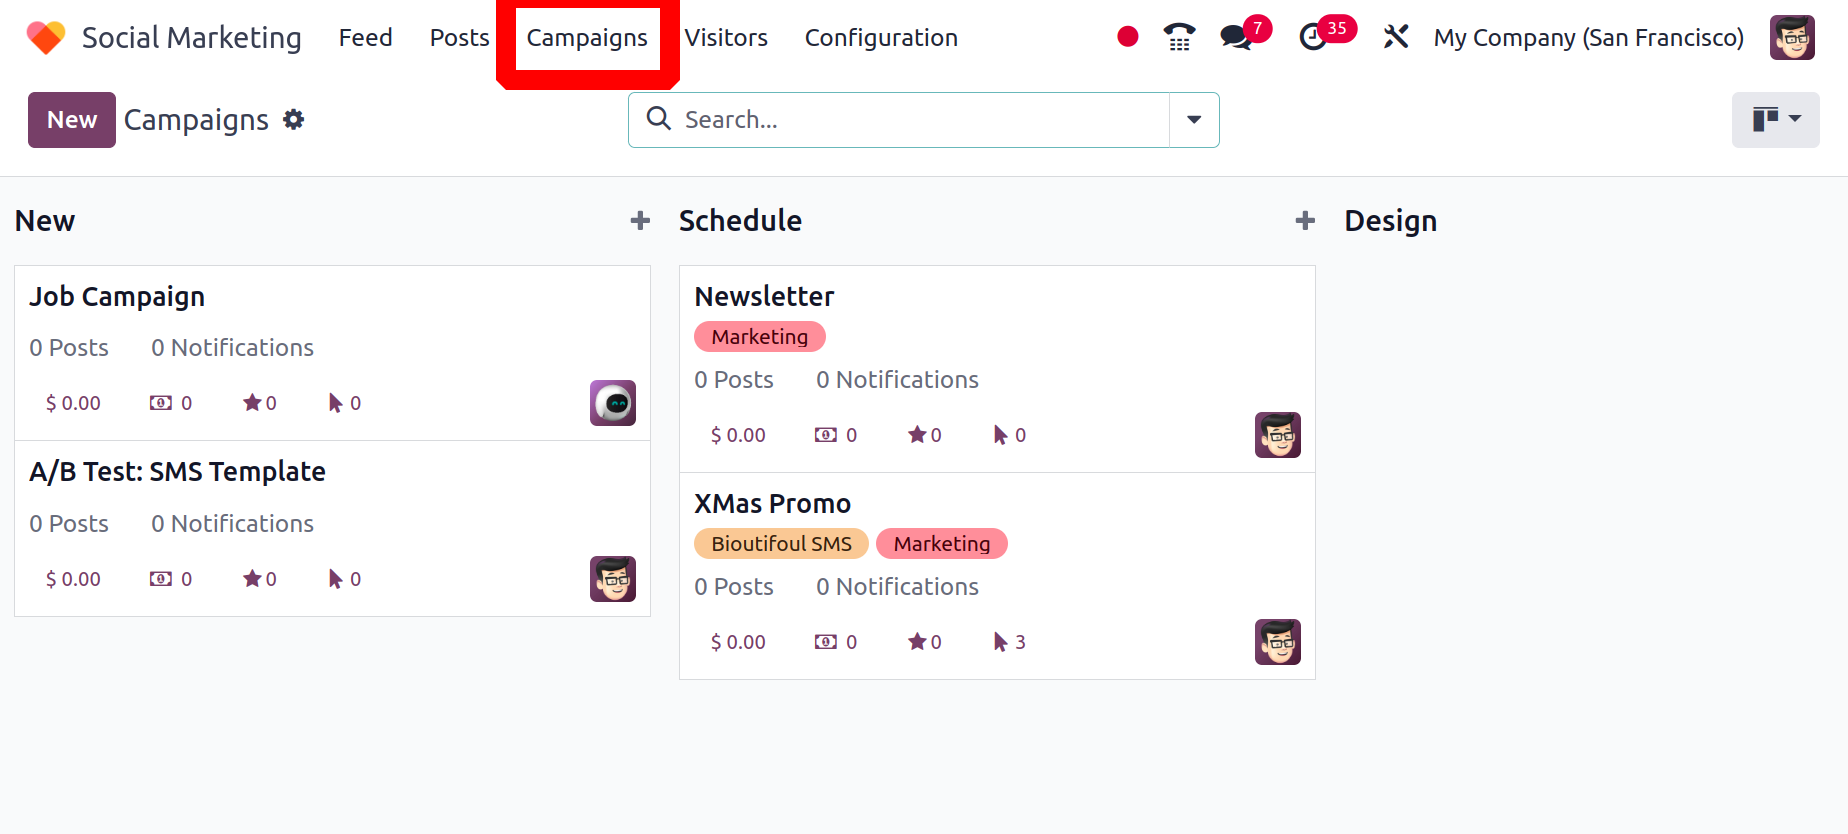
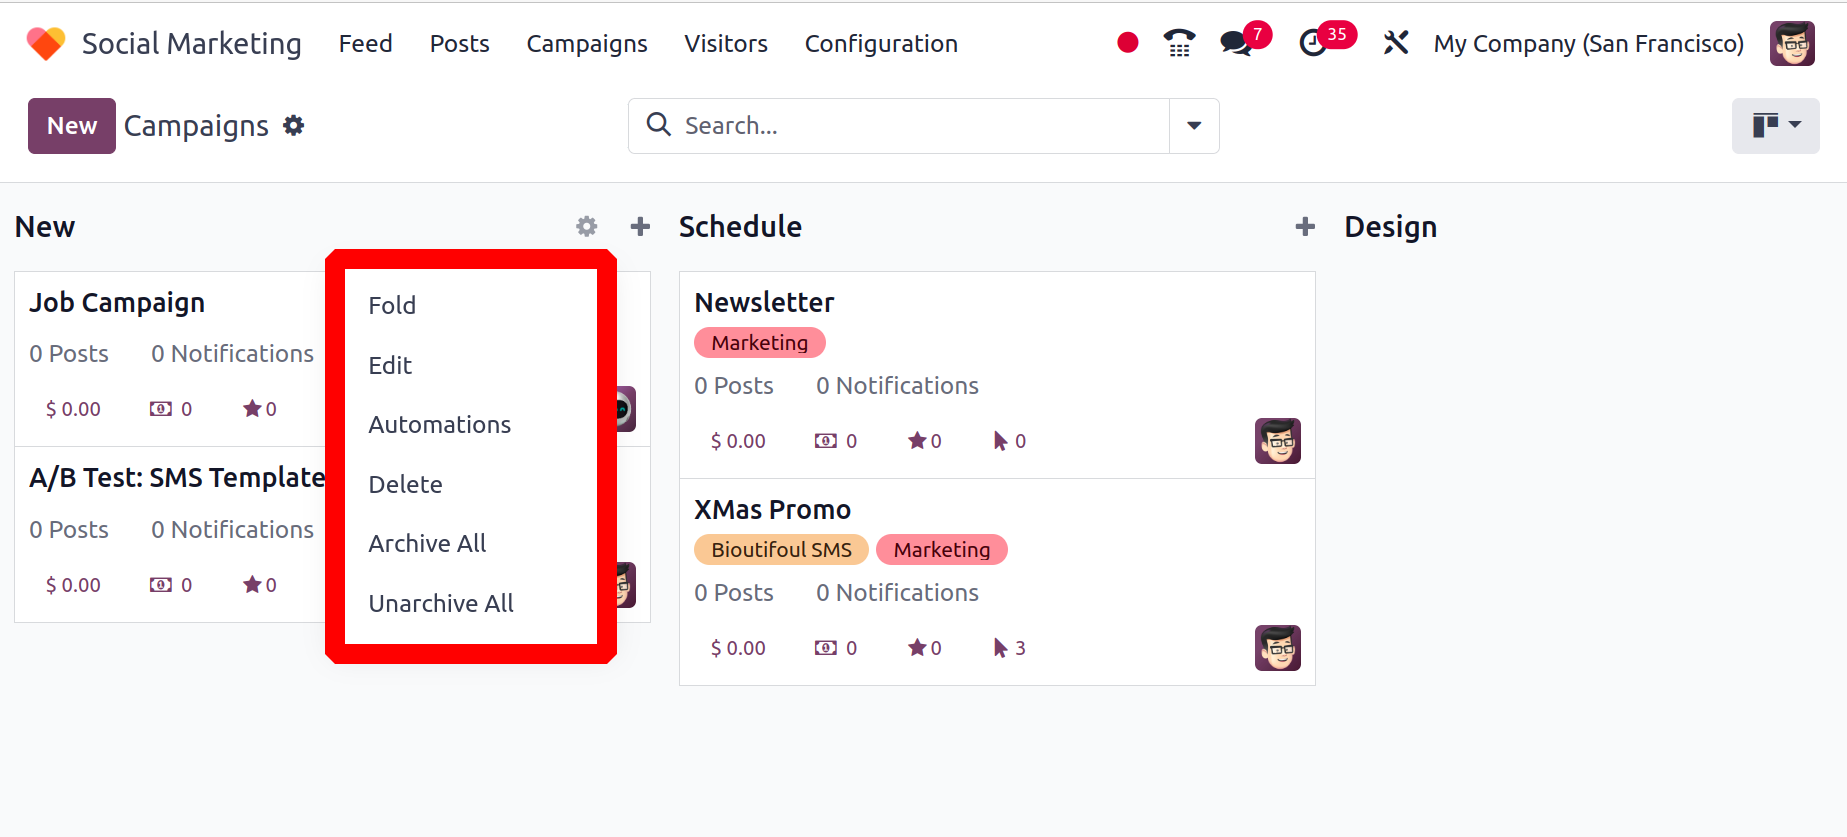
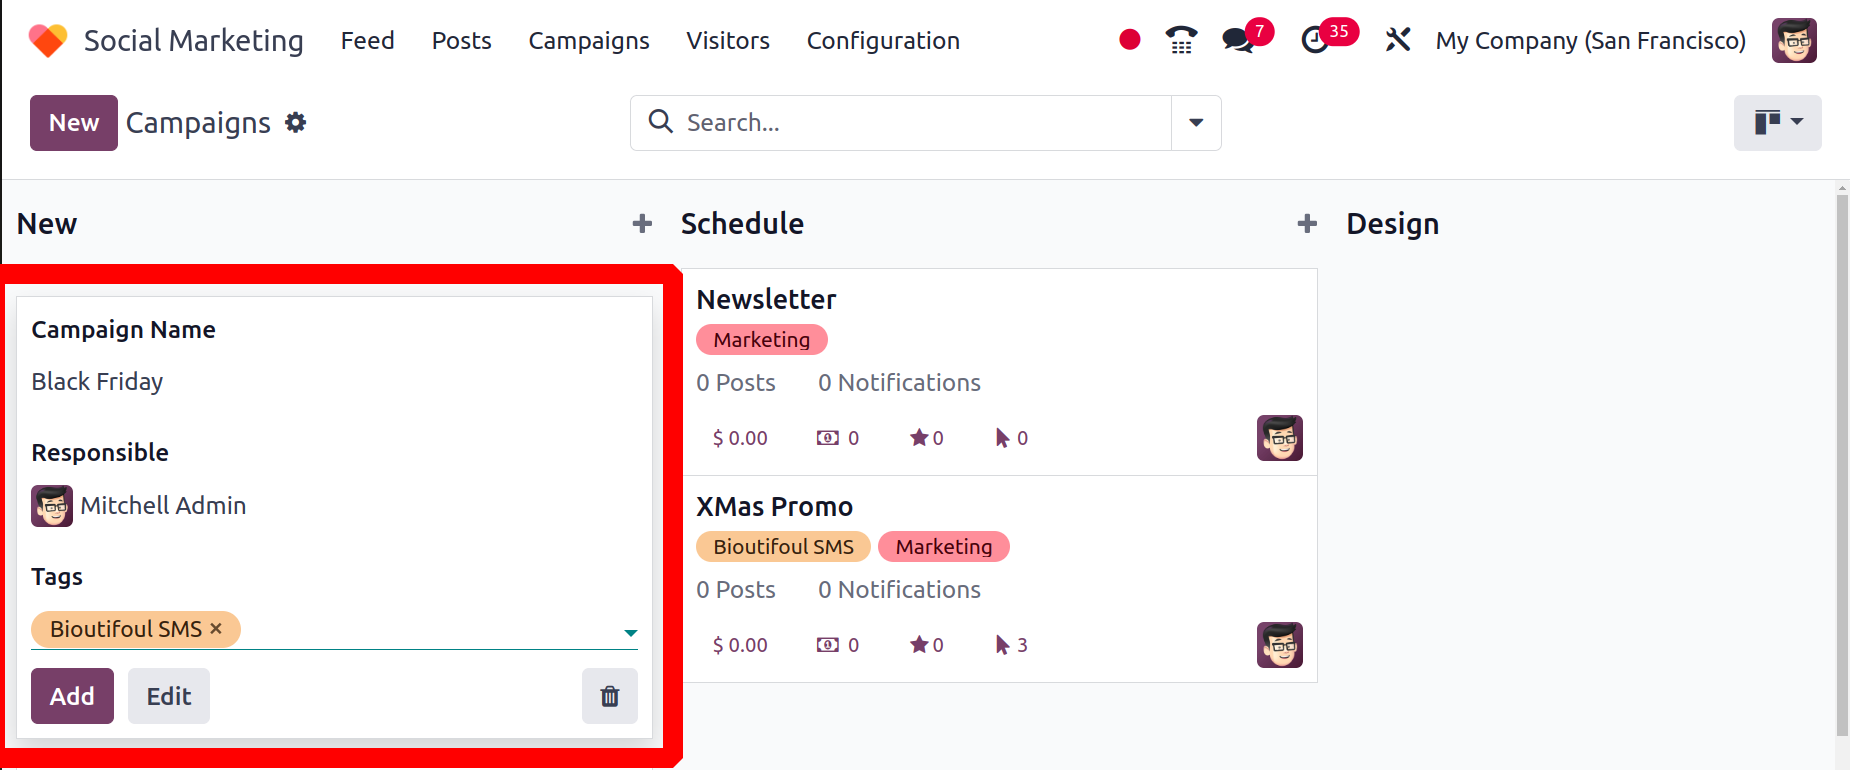
You can use the New button or the + icon on the stage to add a new campaign. Add the tags, the responsible person, and the campaign name. The campaign can then be added by clicking the Add button. Click the Edit button to edit.
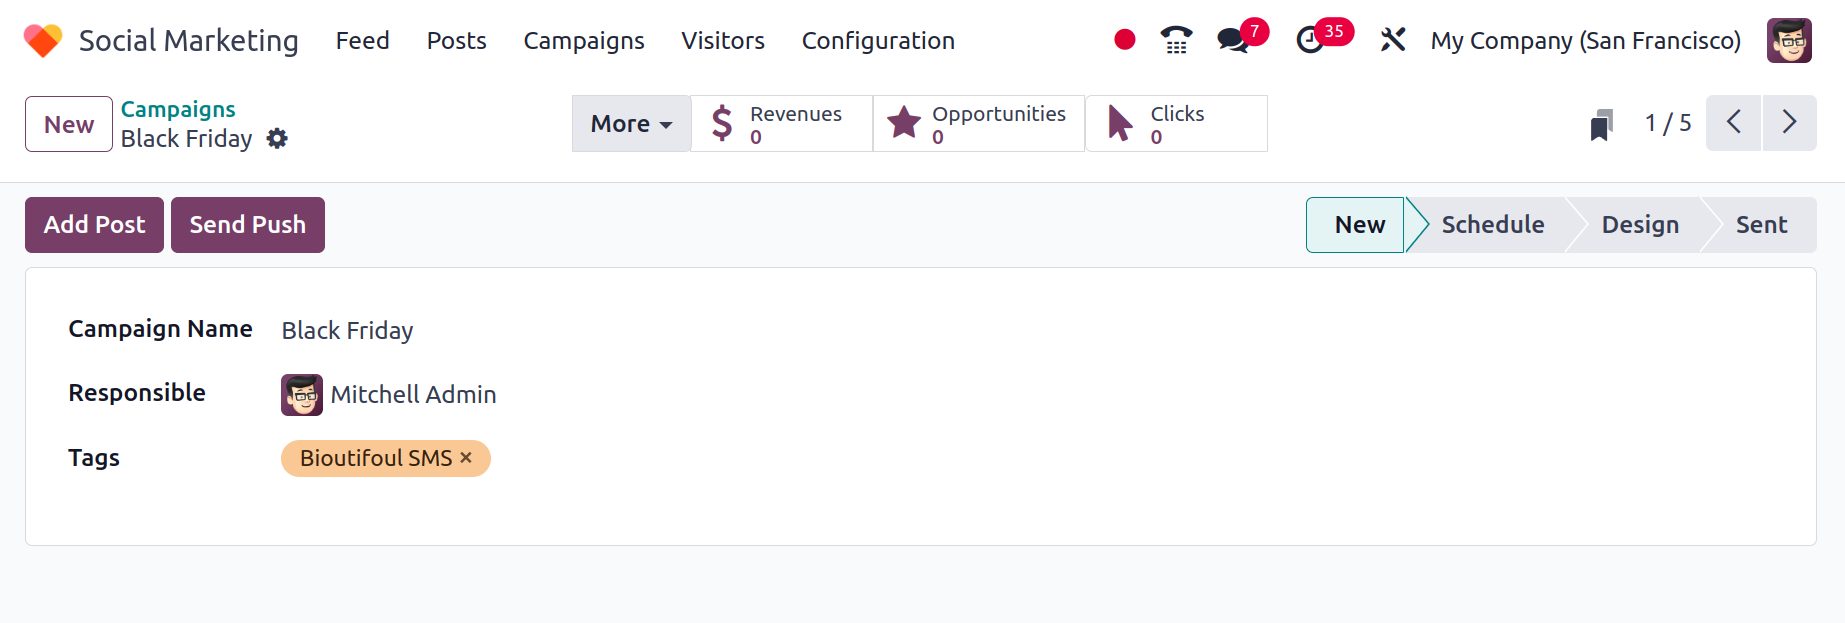
To add a post on social media, use the Add Post button. Moreover, Push alerts can be added using the Send Push button. The generated quotation, total revenue, produced opportunities, and total clicks may all be examined from the smart tabs.
Visitors
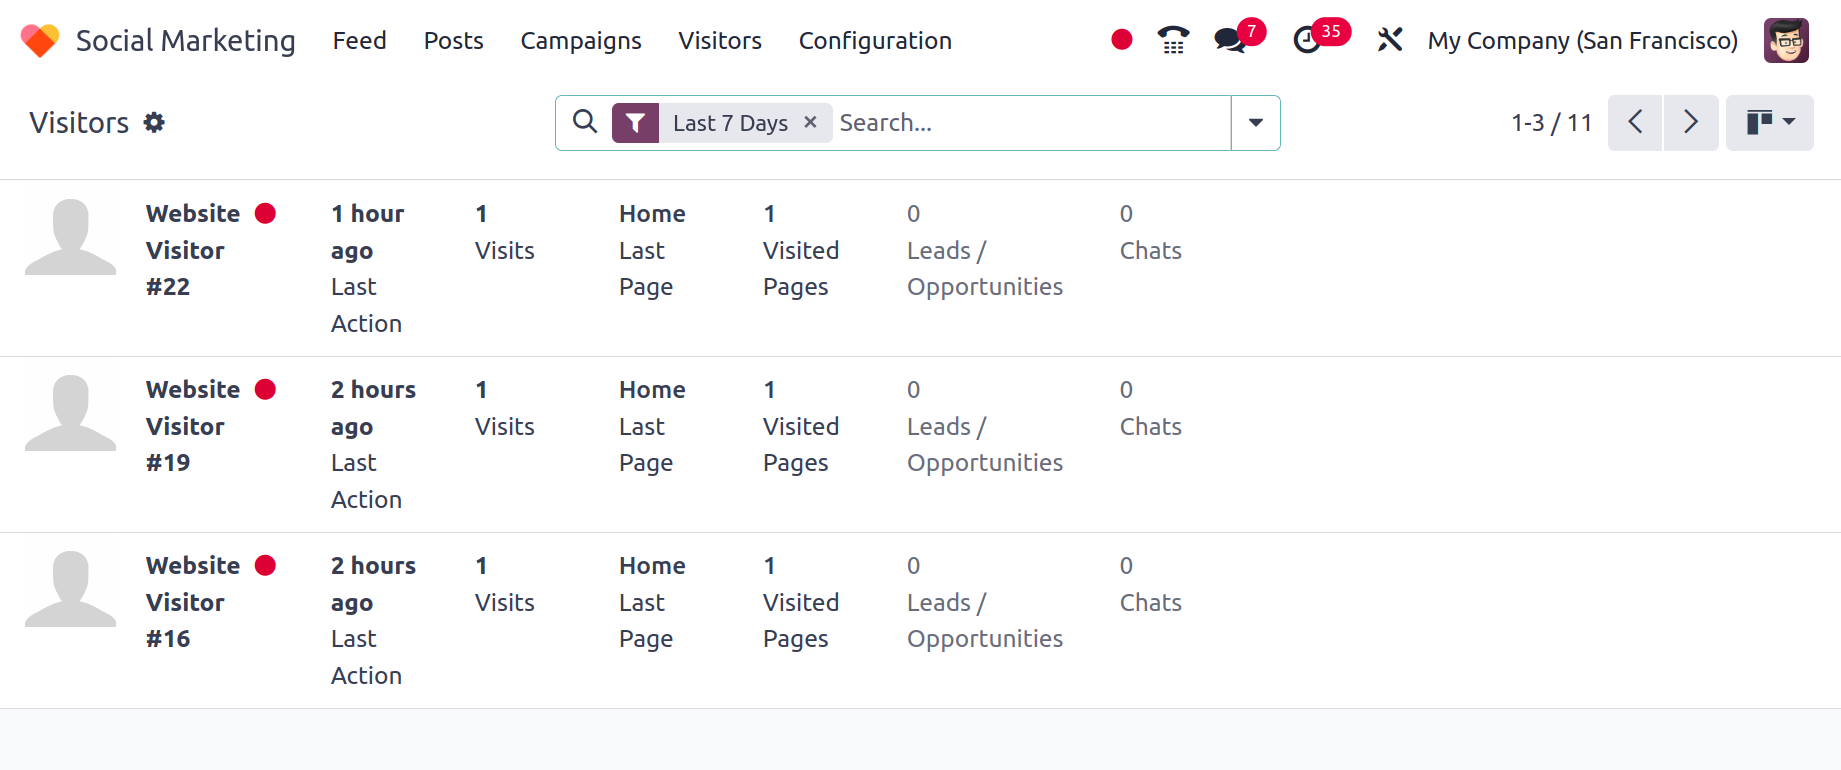
The list of website visitors can be viewed on the visitors page. The visitor's information, including their last activity, the number of visits, the pages they've seen, and other details, will be shown inside the list as seen in the image below.
Configuration
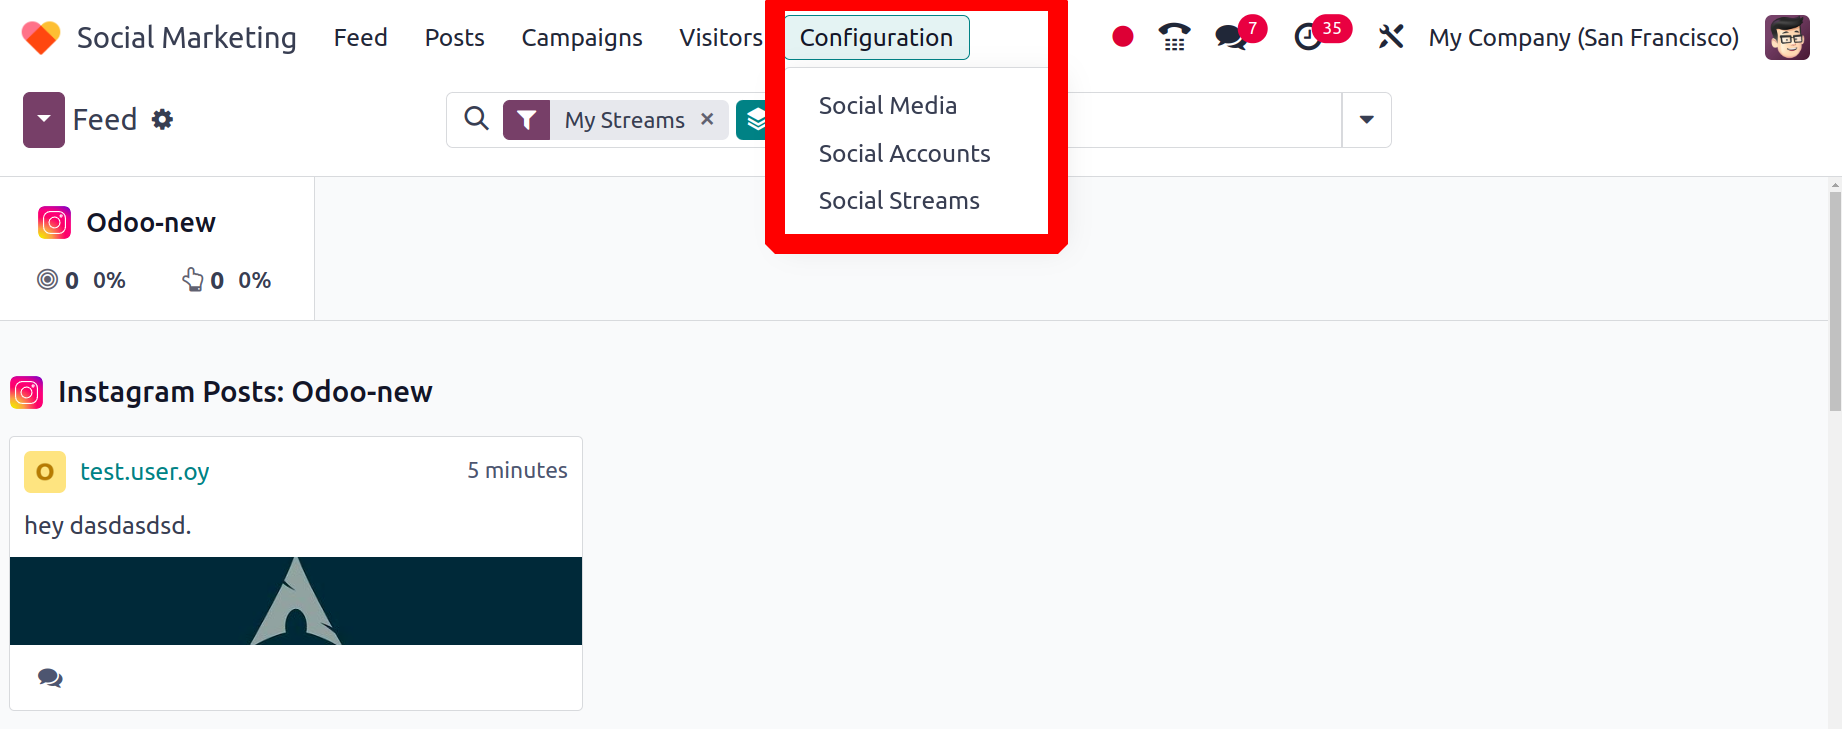
You may set up Social Media, Social Accounts, and Social Streams through the Social Marketing Configuration menu.
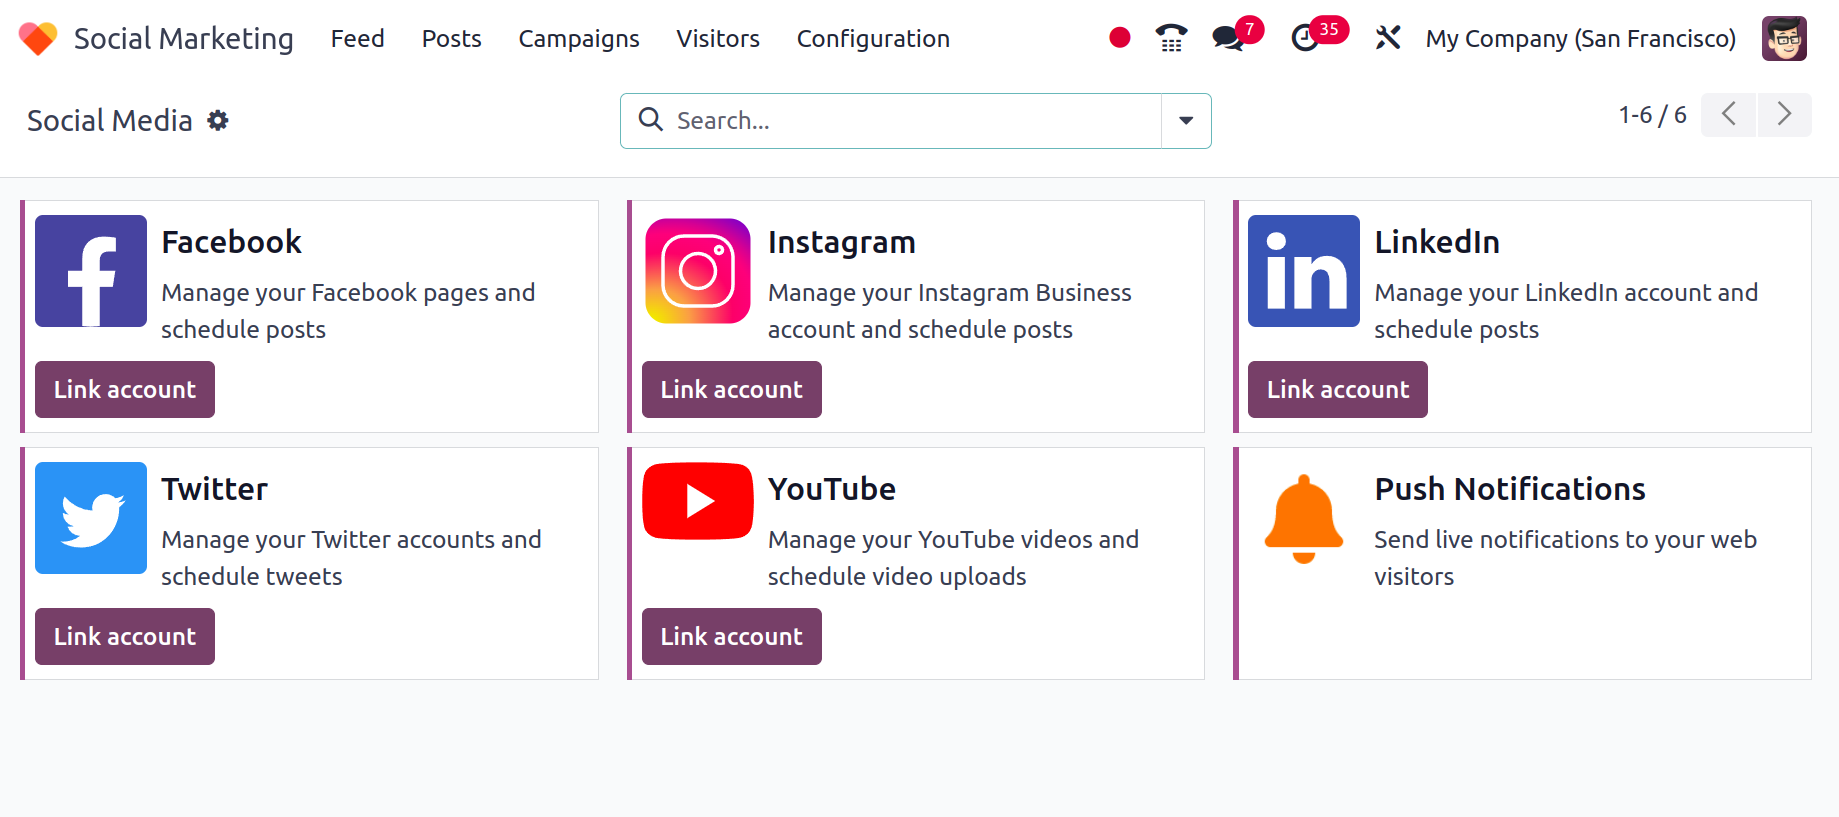
Social media
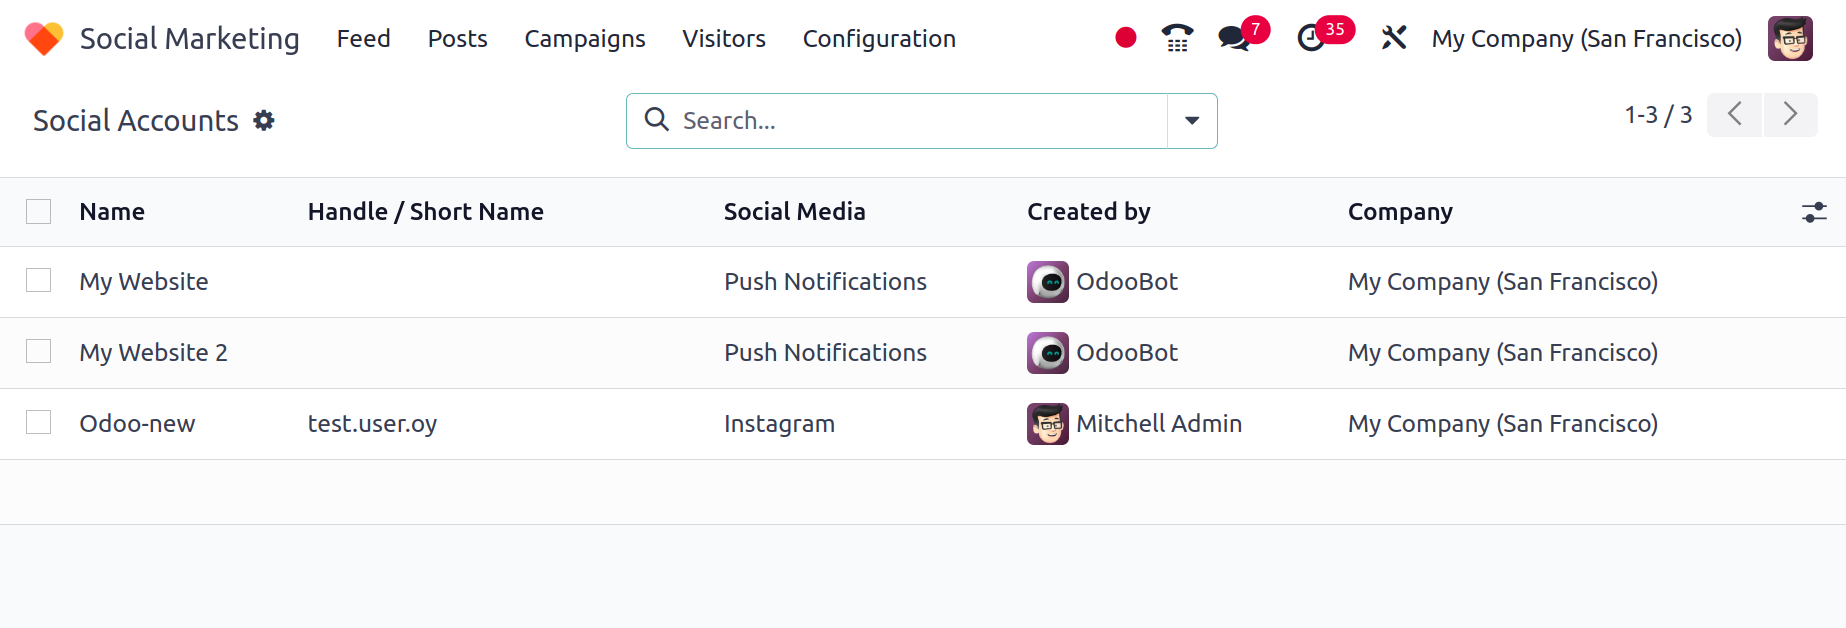
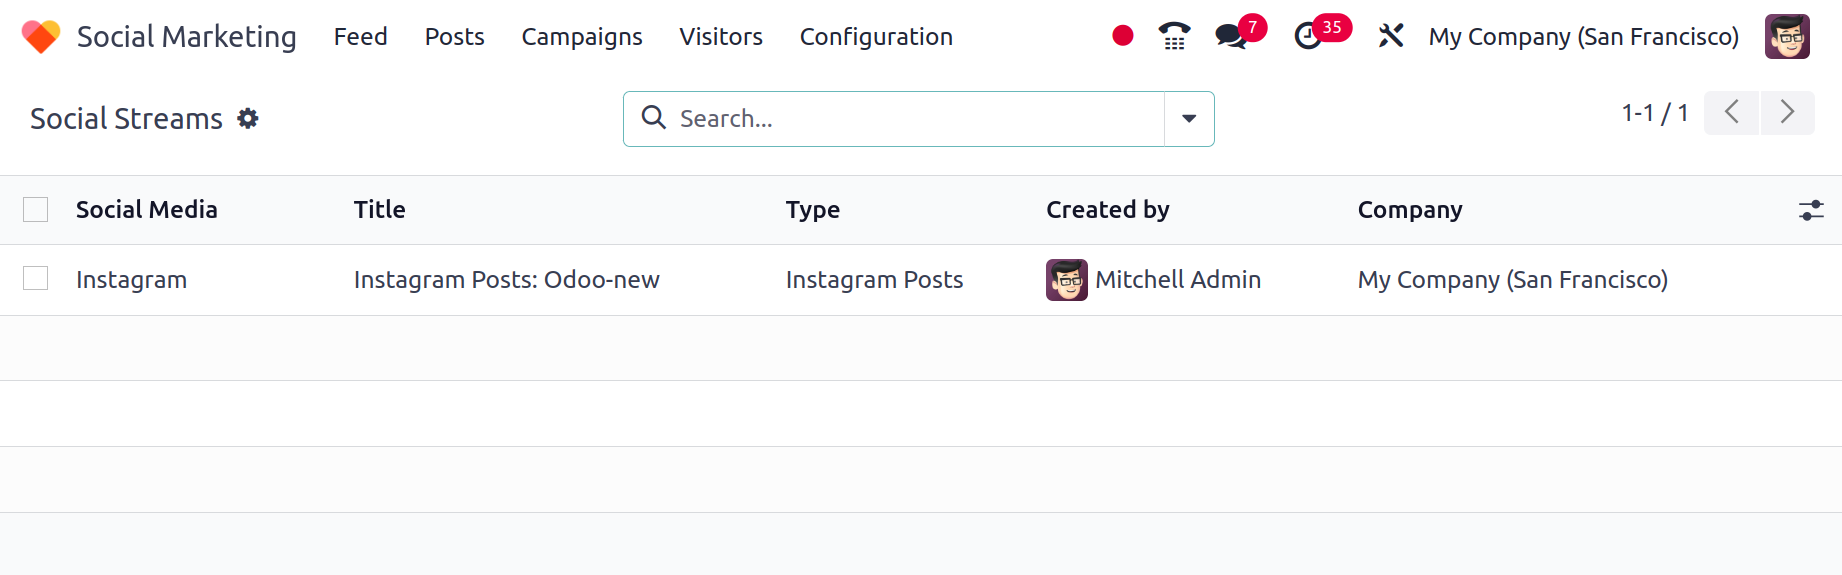
Finally, there is the Social Stream. Under this, the generated streams are visible. Here, a list view of the social media, title, type, created by who, and corporate details is displayed.
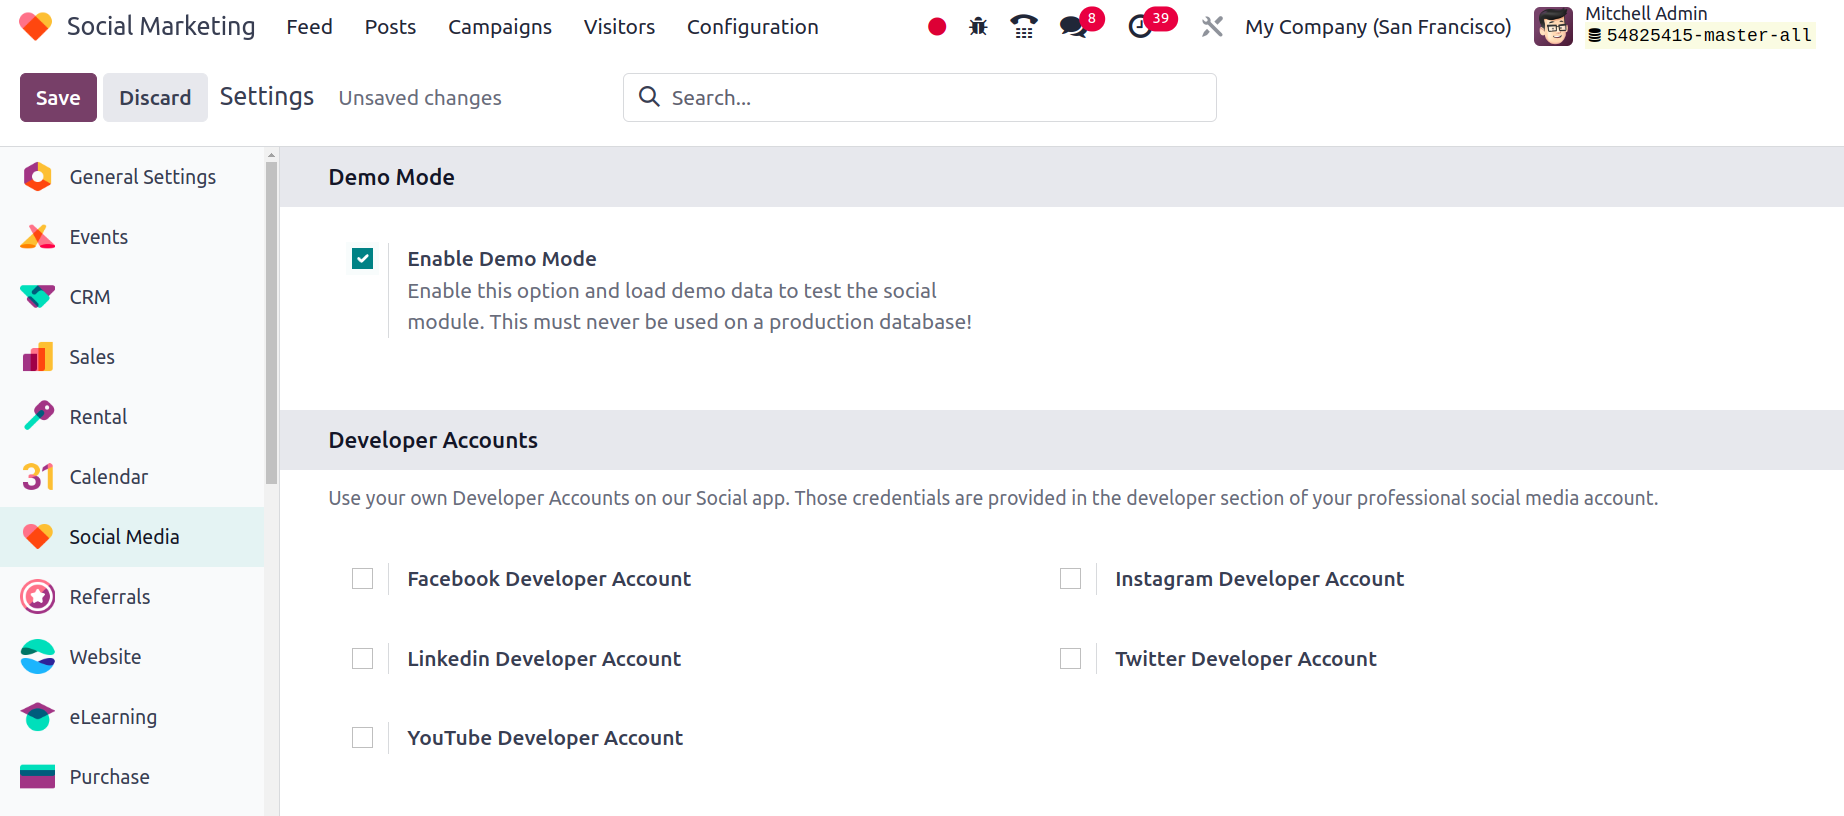
Under Configuration, there is a Settings option. It is divided into two sections: Demo Mode. whether the social module may be tested by loading demo data if the Enable Demo Mode is enabled. This will give demo data for the users to learn and view how the posts are added and comments, views, and engagements are visible in the application. Use of this on a production database is strictly prohibited. Use the Developer Accounts on our Social App after that, inside the Developer Account. Your professional social media account's developer section contains such credentials. Adding credentials enables you to connect the social media applications with your developer account.
Thus, Odoo 17's Social Marketing module makes it simple for users to manage all social media platforms at once.
No comments to display
No comments to display